Getting Started
Implementing Loopy ™ with your app is a simple 4 step process:
1. Install the Library
Using Android Studio / Gradle ➜
Note
Disclaimer
At the time of writing Android Studio was still relatively new and some features in Android Studio do not work as expected.
As a result some of the steps below may become unnecessary in future versions of Android Studio.
Locate the dist folder in your Loopy distribution:
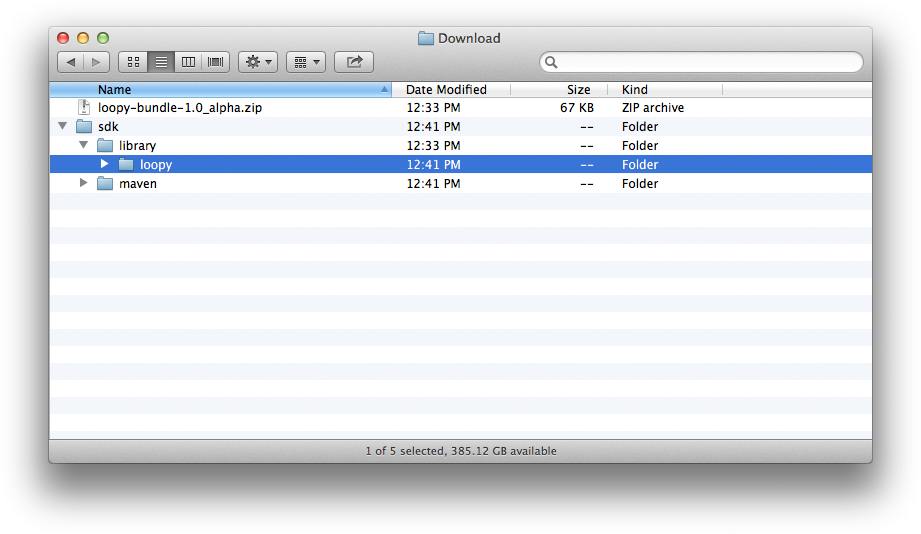
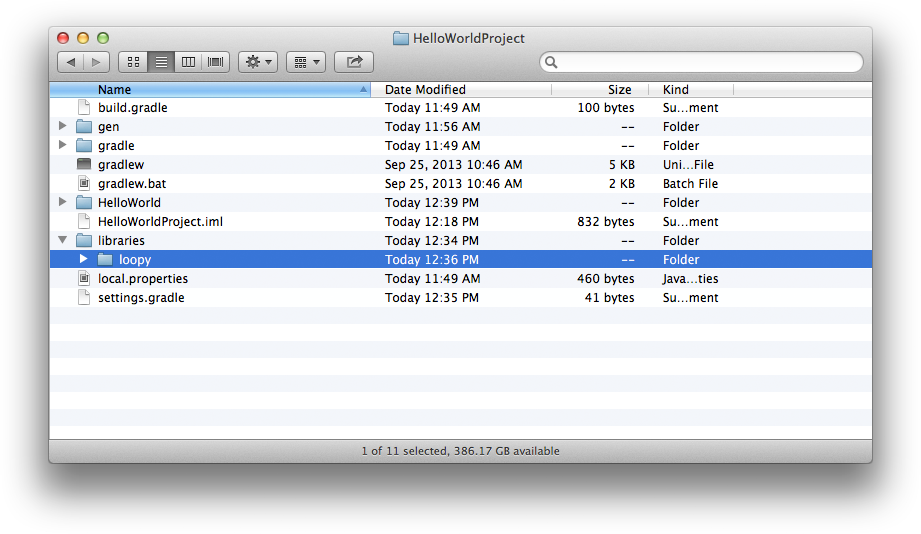
And copy the loopy folder into your project under the libraries folder
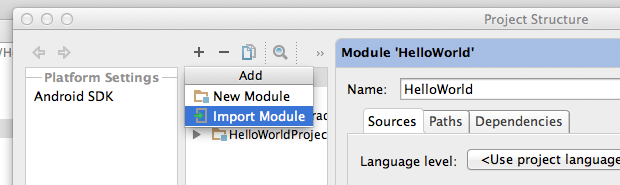
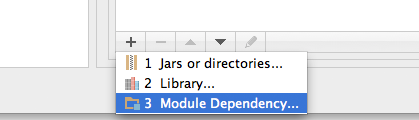
In your Android Studio project, open the Project Structure add the library to your project via Import Module
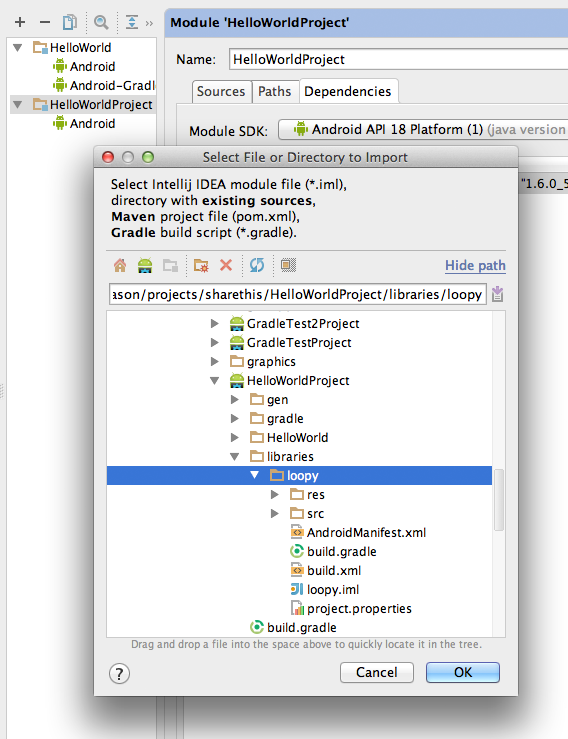
You may also need to add the Loopy project as a dependant module in your app
Next, add the library to your settings.gradle file in your project (replace HellowWorld with your project name)
include ':libraries:loopy', ':HelloWorld'Finally add a compile time dependency to your module’s build.gradle
dependencies {
    compile project(':libraries:loopy')
}
Using Maven ➜
Within the library distribution you will find an apklib version of the library that you can install into a local repository
mvn install:install-file \
    -Dfile=${sdk.apklib} \
    -DgroupId=loopy \
    -DartifactId=loopy-android \
    -Dversion=1_0_rc4 \
    -Dpackaging=apklib
Then add a dependency to your pom.xml
<dependency>
   <groupId>loopy</groupId>
   <artifactId>loopy-android</artifactId>
   <version>1_0_rc4</version>
   <type>apklib</type>
</dependency>
Don’t forget to include the android-maven-plugin (you probably already have this)
<plugin>
    <groupId>com.jayway.maven.plugins.android.generation2</groupId>
    <artifactId>android-maven-plugin</artifactId>
    <version>3.0.0</version>
</plugin>
Using Eclipse ➜
Loopy is distributed as a standard Android Library project. Just follow the instructions from Google to learn how to include an Android Library project in your app.
http://developer.android.com/tools/projects/projects-eclipse.html#ReferencingLibraryProject ➚
2. Update your AndroidManifest.xml
Ensure your app supports SDK version 9 and above:
<manifest ... >
<uses-sdk android:minSdkVersion="9" android:targetSdkVersion="18"/>
Ensure your app has the INTERNET permission. Geo location permissions are optional but recommended for superior analytics
<!-- Required -->
<uses-permission android:name="android.permission.INTERNET"/>

<!-- Recommended -->
<uses-permission android:name="android.permission.ACCESS_COARSE_LOCATION"/>
To enable Install Tracking add the InstallTracker receiver
<application...>
<receiver android:name="com.sharethis.loopy.sdk.InstallTracker" android:exported="true">
    <intent-filter>
        <action android:name="com.android.vending.INSTALL_REFERRER" />
    </intent-filter>
</receiver>
</application>
</manifest>
Note
If your application already defines a broadcast receiver you can simply call Loopy to track the install
Show me how...public class MyBroadcastReceiver extends BroadcastReceiver { @Override public void onReceive(Context context, Intent intent) { // Just call loopy to track the install Loopy.onInstall(context, intent); // Your existing code goes here } }
3. Implement the Loopy lifecycle in your activity
import android.app.Activity;
import android.os.Bundle;
import com.sharethis.loopy.sdk.Loopy;

public class MyActivity extends Activity {

    @Override
    protected void onCreate(Bundle savedInstanceState) {
        super.onCreate(savedInstanceState);

        // Call onCreate and pass in your API key and secret
        Loopy.onCreate(this, "<YOUR-API-KEY>", "<YOUR-API-SECRET>");    // <== TODO: Set this
    }

    @Override
    protected void onStart() {
        super.onStart();
        Loopy.onStart(this);
    }

    @Override
    protected void onStop() {
        Loopy.onStop(this);
        super.onStop();
    }

    @Override
    protected void onDestroy() {
        Loopy.onDestroy(this);
        super.onDestroy();
    }
}
4. Implement a Share Dialog or Share Menu
Loopy integrates with the two most common ways to offer sharing to your app users

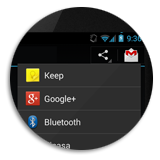
Follow the official Android Style Guidelines and implement an Action Bar with a Share Menu